Like any great "Speechie" app, Aurasma allows you to use your own images or even videos as auras. As always, this equals limitless contexts for applying the app!
In this post, we will look at how to use materials from your photos app (aka camera roll and photo album) in the context of augmenting a visual material such as a book. It will be important that you have read Part 1, as I am not going to go through each step. I will just be saying how it is different to create an aura from your own photos or videos.
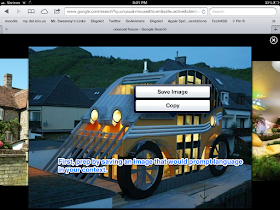
If you are not sure how to do this step, see this post about Saving Images to iPad.
OR, another option is to create your own images or video using the camera. If you want to augment a material with kids' own drawing or writing, shoot a picture of it!
The rest of the steps work the same as in Part 1!
If you are creating a video aura of speaking about a book connection, as I modeled above, a Common Core Connection for you:
CCSS.ELA-Literacy.SL.4.4 Report on a topic or text, tell a story, or recount an experience in an organized manner, using appropriate facts and relevant, descriptive details to support main ideas or themes; speak clearly at an understandable pace.
Next post, in wrapping up this look at Aurasma, we'll be looking at how to add an aura that displays text (since auras are images, can you guess how?) and how to share auras to other devices.


No comments:
Post a Comment